An omni install is a haul-out job done by an experienced installer. This is what happens, so you can plan the yard time and ask the right questions.
The install, step by step
Pick the tank location
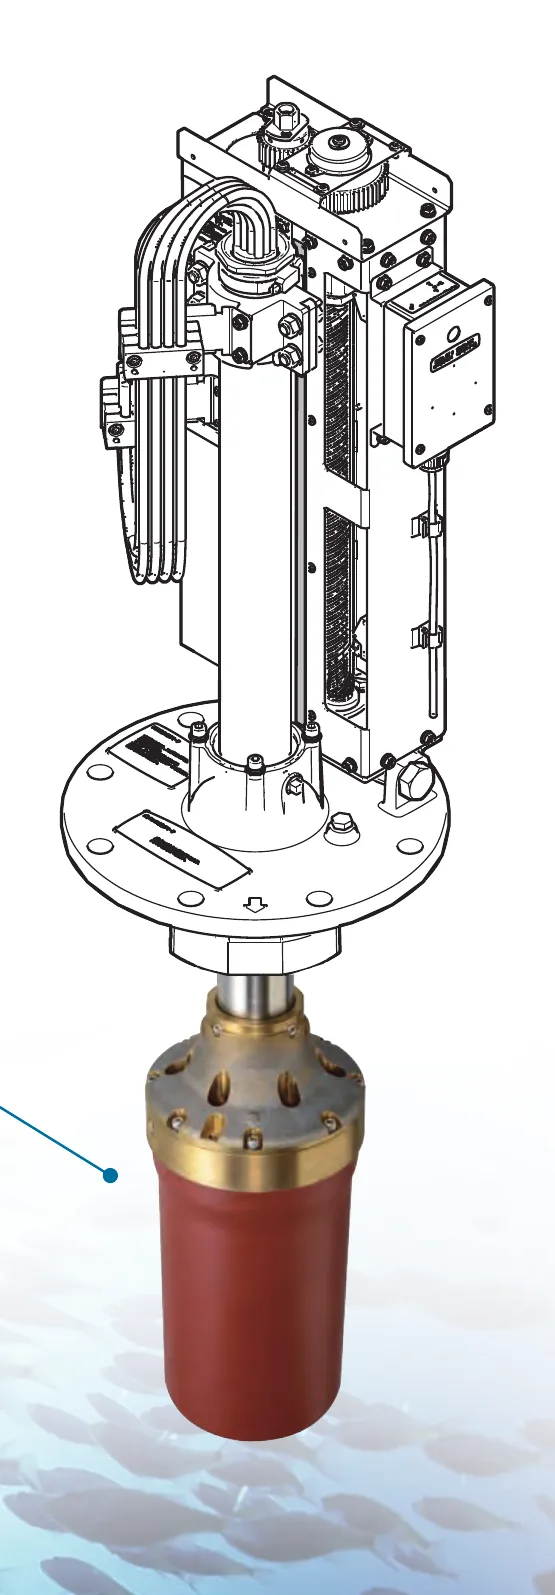
The transducer drops through a tube in the bottom of the hull, called the tank. It needs clear water around it when lowered: away from running gear and other transducers, and clear of the keel's acoustic shadow.
Choose 400 mm or 600 mm travel
Travel is how far the transducer drops below the tank. A tank set in the keel usually works with 400 mm; a tank off to the side of the keel needs 600 mm to get below it. More on choosing travel.
Fit the hull tube
Furuno supplies 190 mm inside-diameter tubes in steel (1.0, 1.8 and 3.5 m), aluminum (1.0 m) and FRP (1.0 and 1.8 m). The same tubes fit the CSH-10, CSH-8L MK2 and CSH-5L MK2.
Mount the hoist and shaft
The hoist sits on the tank inside the boat. The shaft length is set by the height from the tank flange to the hoist; CSH-10 shafts come in 1.2, 2.5 and 3.5 m and can be cut, with Furuno's waterproof attachment, to fit.
Run power and cables
The CSH-10 transceiver needs 24 VDC at up to 7.2 A and the hoist 24 VDC at up to 10 A; the processor takes 12 to 24 VDC. The transceiver-to-processor cable comes in 10, 20, 30 and 50 m.
Connect sensors and display
Feed heading, speed and course (NMEA 0183) for north-up and target lock. Connect a monitor over HDMI or network the processor to NavNet TZtouchXL.
Place the controls and remotes
The control unit lives at the helm. A wireless SCU-001 remote, up to four of them, lets the cockpit or tower change range, tilt and gain.
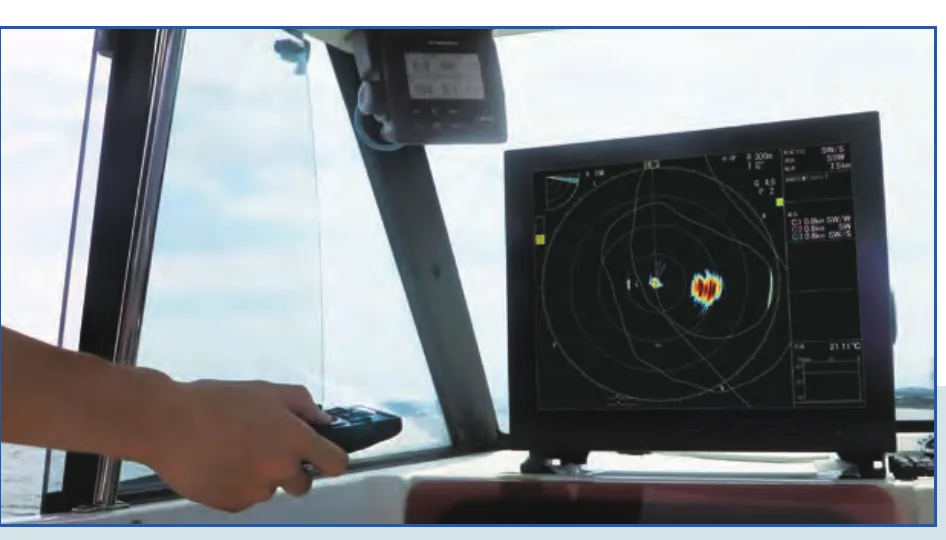
Adjusting the CSH-10 from the deck with the wireless remote. Image: Furuno Sea trial and tune
Confirm raise and lower, check for interference from other electronics, and set the starting gain, filters and tilt with the captain aboard.
How much room it needs
Most omni installs start with an 8.5-inch hole for the 8-inch tank. The tank and the hoist above it need vertical room, and travel decides how much. Dealers at an InTheBite dealer round table gave these minimums for the CSH-8L MK2, and recommend extra clearance so you can reach the hoist's manual raising fitting:
| 400 mm travel | 600 mm travel | |
|---|---|---|
| Where the tank sits | In the keel | Off the keel centerline |
| Minimum tank length | 24 in | 32 in |
| Minimum hoist height | 30 in | 36 in |
Venting and fairing
- Brace the tank to the hull structure, and use a yard and fiberglass shop with omni experience.
- Fairing matters. How the tube exits the hull strongly affects performance, both with the transducer retracted and while trolling.
- Vent trapped air. Some boats trap air in the tank, which can stop the sonar raising and cause bubble noise. A manual vent at the top of the tank, ending above the waterline, helps, and high-speed boats may need one.
- The 8-inch tube is common to most major omni brands, so the tank you install today keeps your options open.
Sea trial
- Interface the sonar with GPS for speed and heading.
- Set and test automatic retraction at a preset speed, for example about 12 knots, to protect the transducer.
- Confirm the transducer is aimed straight off the bow using a fixed object.
Omni on a center console
Omni is mostly fitted to sportfishing convertibles and express boats, but it isn't limited to them. Power & Motoryacht reported that Furuno has installed omni on large center consoles and on a 19-foot Down East-style boat. What decides it is whether the hull has room for the tank and hoist, 24 VDC power for the CSH-10, and a dry place for the processor and transceiver.
Fast boats
Furuno's CSH-10 brochure calls for a fin ahead of the tank on boats capable of 25 knots or more, and offers a fairing for small FRP hulls. Ask your installer to include it in the quote if your boat is quick.
Haul-out checklist
Dealers recommend these checks whenever the boat is hauled. Tick them off; your progress is saved in this browser.
Room, venting, sea-trial and maintenance guidance summarized from the InTheBite dealer round table. Those space figures were given for the CSH-8L MK2; confirm CSH-10 dimensions with Furuno's installation manual and your installer.